In another case, the URL of the blog that you have can be changed according to your wishes, by mentioning the domain change. The domain that you will use you can get on various hosting sites on the internet and of course it is not not free to get it.
As is the case with a website builder platform from blogger.com. Which, where Blogger is a free Blog creation service, in addition to that blogger also provides a service to change the name of the blog URL (Domain) that you can do with the steps to make a purchase at a price already in specify it.
if you want to use a domain from blogger (google), usually after you create a blog, you will be presented with an option to buy a domain from google.
But on this occasion, this blog will only review information about purchasing domains on the Dynadot web hosting site and information on how you install the domain you purchased through Custom DNS settings on Dynadot.
If you know the uniqueness of dynadot web hosting sites, you will find a service that you rarely encounter in other web hosting services.
You can find domain prices from dynadot jiga domains like .com at a fairly cheap price, usually will range between five dollars or more, and also, Dynadot supports payments using Skrill Moneybookers, which can be said to be very rare using web hosting Skrill services as a payment tool for users.
How ? Quite interesting to use dynadot as your web blog webhosting service!
If you want to register, follow the short guide below:
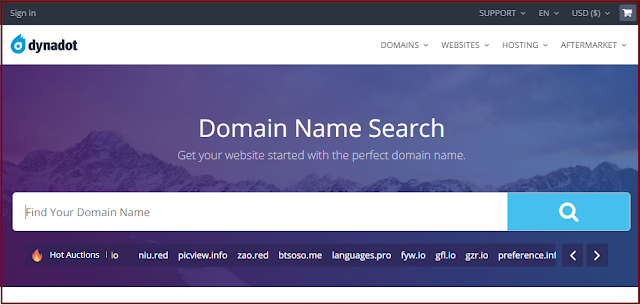
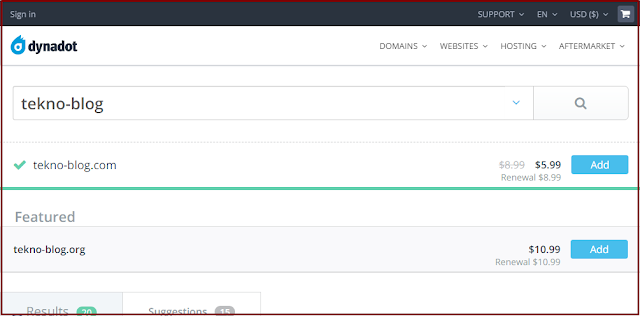
1. Please visit the Dynadot website and find a domain that is suitable for your web blog >> enter the domain name >> Click the search icon.
2. if the domain you want already exists, click add and go to the check out process.
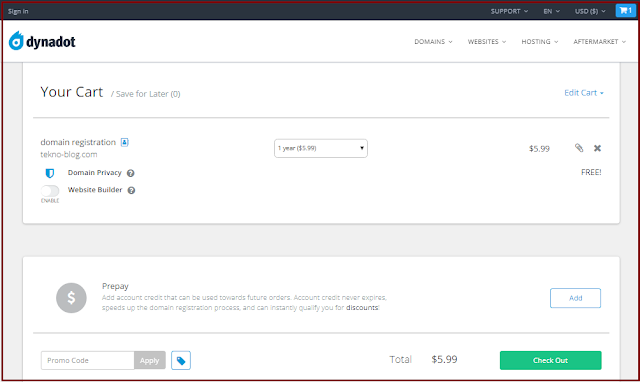
3. on the checkout process, if you only need the domain for the blog, then don't select or activate the website builder mode. Remember: You can also specify the domain period. And if you just click check out.
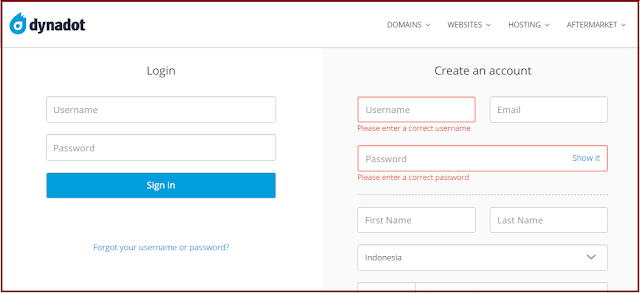
4.In the checkout process, you have just started on Dynadot, then you need to create an account first by entering your complete data such as e-mail address, full name, contact details, password and others, finally click on create account.
5. The next stage if you have successfully created a dynadot account, you will be diverted to the payment method that you need or can use such as: Credit card, Skrill, Paypal, money order / check, Bank wire.
Select the payment method that you use and click submit order.
6.Login to your dynadot account, select the domain you bought earlier, click the point choice and click send payment. You will complete the payment with the payment instrument that you entered when ordering. Until here you have successfully purchased a cheap domain on dynadot.
If you have registered and ordered a domain, then you have to confirm the purchase until it's done. After that you will be given a domain and you must use the domain for your blog, for example your blog on blogger. Incidentally this tutorial is for you to create a blog at blogger.
How to set custom dynadot dns for blogspot (blogger)
Easy, easy, easy, and need patience in this matter. But if you feel that your domain is ready to use on your blogspot, here is how to install a domain dynadot on a blogger blog.
1. Click the paid domain or check and select the action, after that will appear select, just select DNS settings.
2, On the DNS settings page, you must fill in cname, forward in the subdomain and domain record. With a note as below.
Domain record (Required)
Record type = Select Forward
IP Address or Target Host = Enter the IP Host URL / domain name that you purchased for example (https: //www.yourdomain .com)
Subdomain Records (optional)
Subdomain = input in: www
Record Type = select Cname
IP Address or Target Host = enter: ghs.google.com
and save it.
3, If it is successful, go to your blogger by: Open the Blogger dasbhord >> Click settings >> Basic >> Add a third-party url >> Enter the Domain with the form (www.yourdomain .com) >> And click save.
4, Wait for the https mode switching process to succeed.
quite easy how to buy a cheap domain on dynadot and how to install the domain on blogger via DNS.dynadot settings also provide payment methods that support such as paypal, Skrill moneybookers. This is an convenience for you who have a skrill balance.
Artikel Terkait
Dynadot Cheap Domain Buying Guide and DNS Settings on Blogger
4/
5
Oleh
M.Ilham


Berikan Komentar Terbaik Mengenai Artikel Di Atas.